KIM HOGGAN
Bronze Post Medal for All Time! 114 Posts 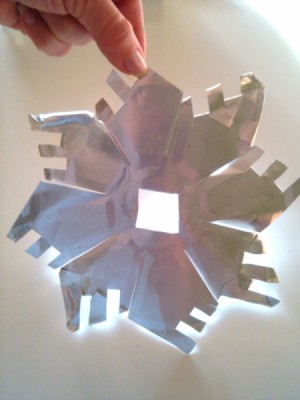 Don't throw away those aluminum pie pans, when you can make snowflakes! :)
Total Time: 15 or less
Supplies:
Steps:
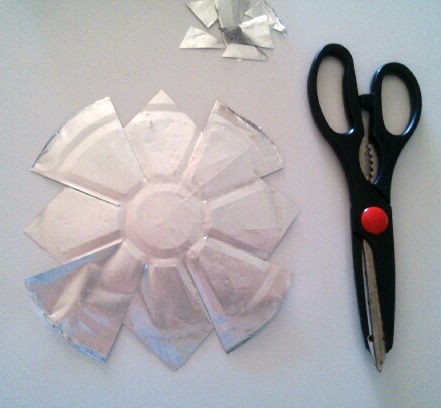
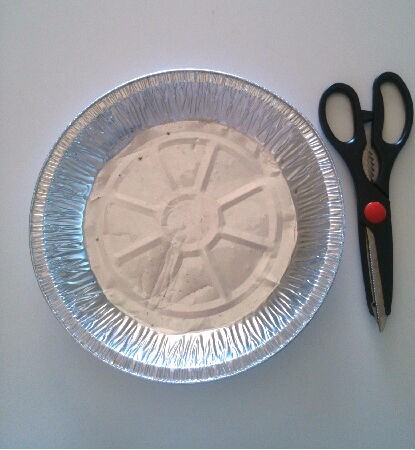
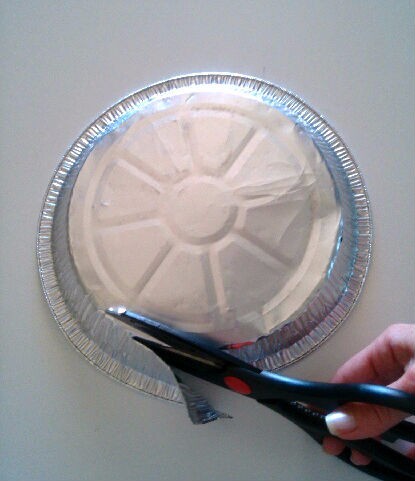
- Get your aluminum pie pan and scissors. Be very gentle when working to avoid cuts.
- Cut the rim so that only the botton circle is left
- Cut along the already dented lines up to the circle edge. Next cut all ends into Vs or you can also customize the snowflake longer or shorter.

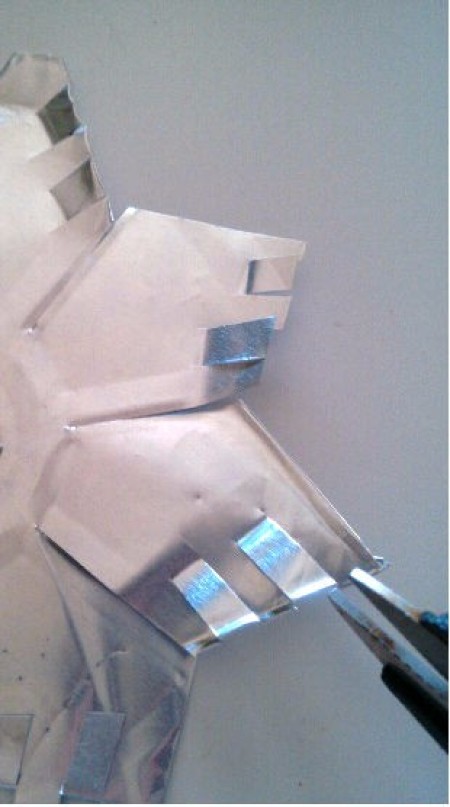
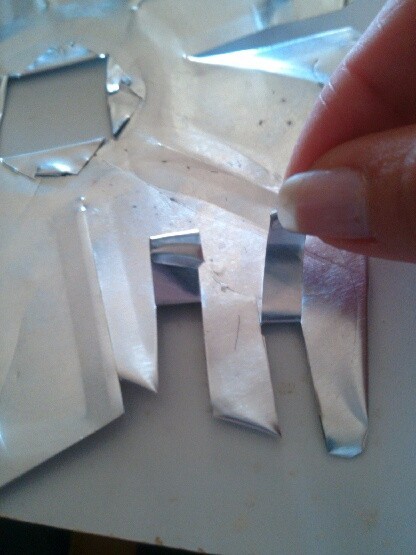
- Cut 4 short lines on each division then fold flaps up and over. Fold ends as well so they won't be sharp.
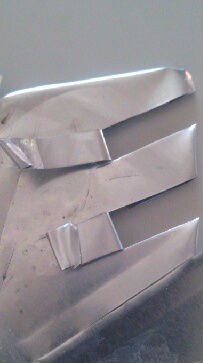
- They should all form an "E"
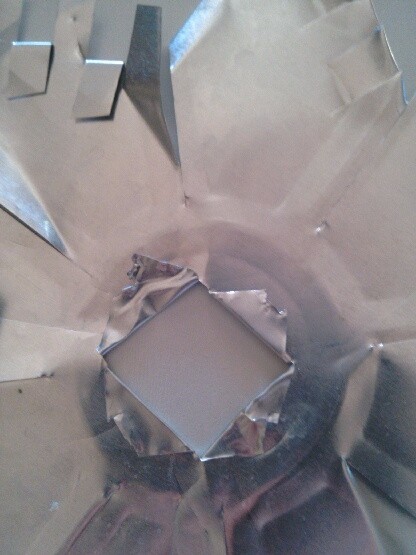
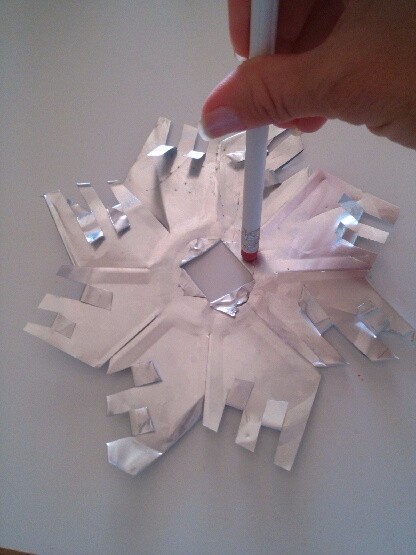
- Cut an X in the center and fold back flaps. Use a pencil eraser to flatten and smooth out aluminum.
- Once done you can hang anywhere you'd like!
Add your voice! Click below to comment. ThriftyFun is powered by your wisdom!