social

DIY Chopstick and Bead Christmas Tree


Diamond Post Medal for All Time! 1,246 Posts
December 14, 2018

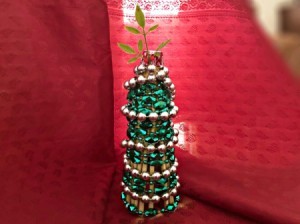
Chopstick and Bead Christmas Tree - finished treeThis is a fun and quick way to make a little decorative Christmas tree, using stuff you might have saved in your house. I am a wooden chopstick hoarder. I find them so useful for crafts and projects. Here, I decided to rubber band them together to make this tree so I could use them again in the future! (No glue necessary!) Some Mardi Gras beads came in handy for the decorations, but you can use anything to adorn your baby tree.

Advertisement

Total Time: 25 minutes

Yield: 1 tree

Supplies:
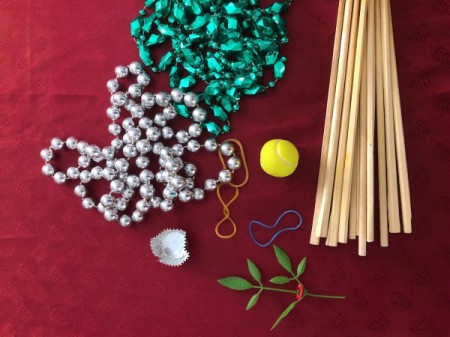
  • 12 chopsticks (at least)
  • 3 rubber bands
  • 1 small ball (ping pong size or so)
  • 2 beaded necklaces
  • decorative toppers (I used a foil candy cup and plastic holly)
Chopstick and Bead Christmas Tree - supplies
 

Steps:

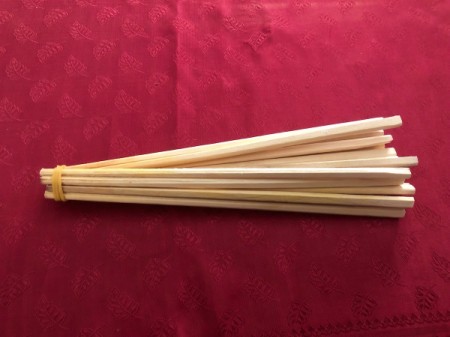
  1. Bunch all the chopsticks together and tie the end with a rubber band.
  2. Chopstick and Bead Christmas Tree - secure one end of the chopsticks with a rubber band
     
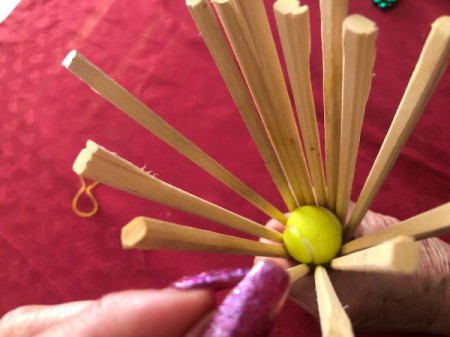
  3. Spread the chopsticks out so they are spaced out evenly, making a cone shape. Push the small ball in to keep the shape of the cone.
  4. Chopstick and Bead Christmas Tree - spread the sticks out evenly to create a cone and push the ball down at the top
     
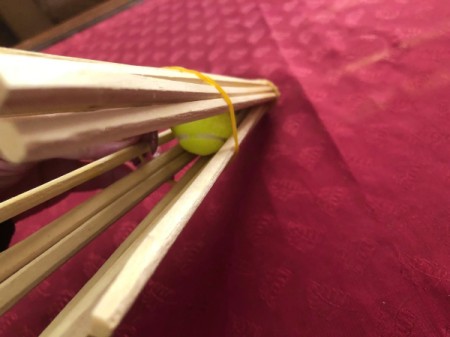
  5. Tie another rubber band a little lower than the midsection of the cone.
  6. Chopstick and Bead Christmas Tree - second rubber band
     
    Advertisement

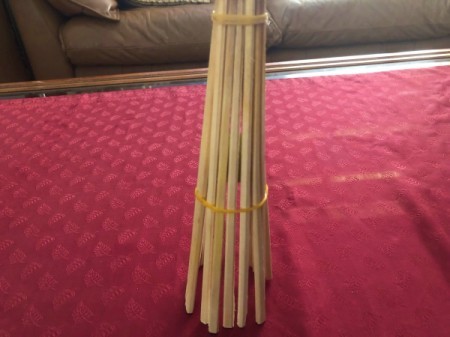
  7. Stand the cone up and adjust any chopsticks if necessary.
  8. Chopstick and Bead Christmas Tree - stand the cone up and adjust the chopsticks as needed
     
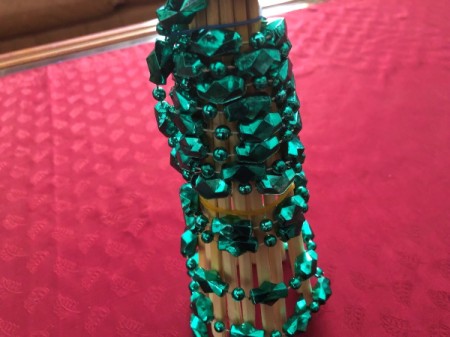
  9. Wrap the tree with some beads, then secure the top with a rubber band.
  10. Chopstick and Bead Christmas Tree - wrap with beads and secure the top with another rubber band
     
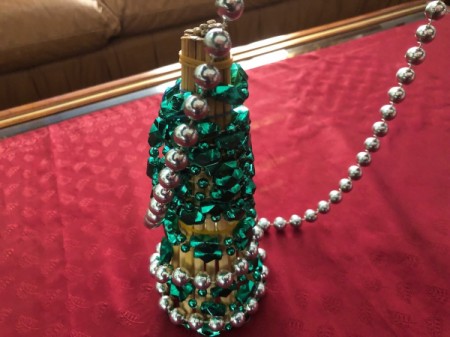
  11. String some more beads on top. Add any decorative bits on top to hide the rubber band and bare chopstick ends. This is where I used the foil cup and faux holly.
  12. Chopstick and Bead Christmas Tree - add more beads and finally other decorations to cover the rubber band and bare chop stick ends
     

Comments

December 16, 20181 found this helpful

This is absolutely delightful! Thumbs up!!!

---Robyn


Diamond Post Medal for All Time! 1,246 Posts
December 16, 20181 found this helpful

Thanks, Robyn!!! :)

 
December 17, 20181 found this helpful

Amazing imagination. These can be preserved and put out in each room. Can even match the color or your room. They are delightful to look at and I admire your creative mind.


Diamond Post Medal for All Time! 1,246 Posts
December 18, 20180 found this helpful

Thank you, Teri! What a lovely thing to say. :)

 
In This Page
Categories
Crafts DecorationsOctober 3, 2019
Pages
More
🎆
Fourth of July Ideas!
🌻
Gardening
😎
Summer Ideas!
Instagram
Sub-Categories
AdviceBaking TipsBooksBoxing DayBudgetCardsCharitiesChristmas RecipesCleaningCooking TipsCraftsDecoratingDietingGamesGift WrappingGiftsHelpful HintsHosting TipsLinksMiscellaneousMy Frugal HolidayOrganizationParentingPartiesPhotosPlanningSanta TipsShoppingStocking StuffersTraditionsTravel
Published by ThriftyFun.
Desktop Page | View Mobile
Disclaimer | Privacy Policy | Contact Us
Generated 2024-07-01 17:16:03 in 5 secs. ⛅️️
© 1997-2024 by Cumuli, Inc. All Rights Reserved.
https://www.myfrugalchristmas.com/DIY-Chopstick-and-Bead-Christmas-Tree.html