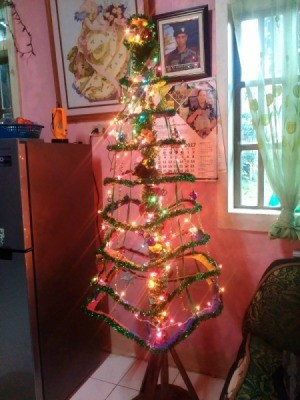
 Every year is unique and so every year we tend to change Christmas trees. Having a kid at home inspires us to create new things especially on some occasions like Christmas.
Supplies:
- 1 big round piece of cardboard
- pencil or marker
- scissors and cutter
- crepe paper (optional)
- yarn or ribbons
- Christmas balls
- series lights
- other Christmas accessories
Steps:
- Place cardboard onto a flat surface and draw circles inside of decreasing sizes.
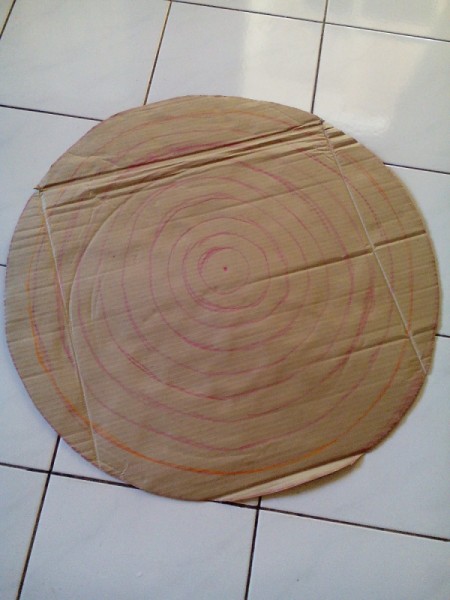
- Cut along the traces carefully to form rings. As you can see the picture, one size is smaller than the other.
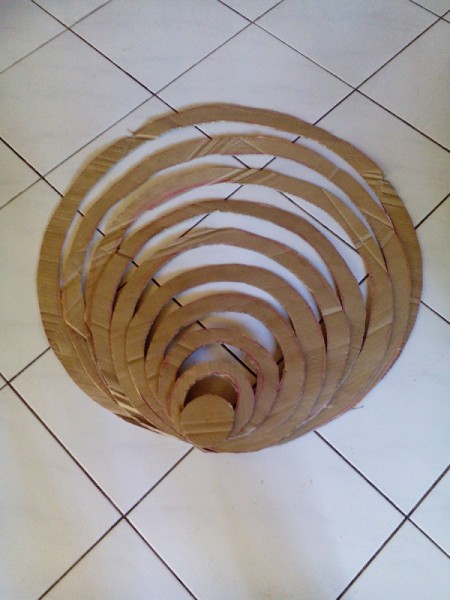
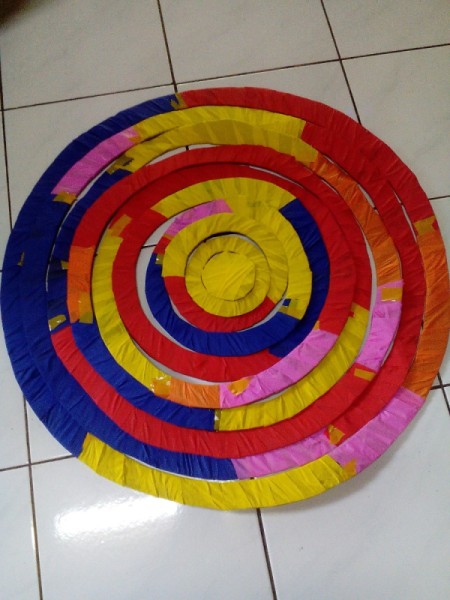
- Wrap the rings with crepe paper or you can paint them if you want.

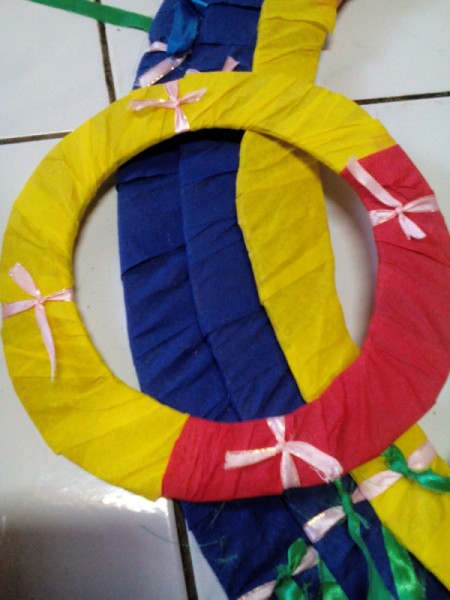
- On each ring, tie a ribbon onto its four sides. The ribbons should be in parallel position. Make sure the ribbons are in the right place to ensure its balance when you start pulling up the top layer.

- Now cut out about 3-4 inches ribbon or yarn and tie from end to end of each ring. It should look like this. Also it is important to have uniform sizes of the ribbon because it will affect the balance of your hanging tree.
- And when you pull up the center or the smallest ring it will look like an inverted cone. I hung it on a pole as our ceiling is too high.
- Then, start putting the balls around in each ring.
- Decorate with other accessories and don't forget to put up the series lights.
Add your voice! Click below to comment. ThriftyFun is powered by your wisdom!

January 7, 20180 found this helpful
I think this is gorgeous!
Add your voice! Click below to comment. ThriftyFun is powered by your wisdom!

 Every year is unique and so every year we tend to change Christmas trees. Having a kid at home inspires us to create new things especially on some occasions like Christmas.

