R Barbara
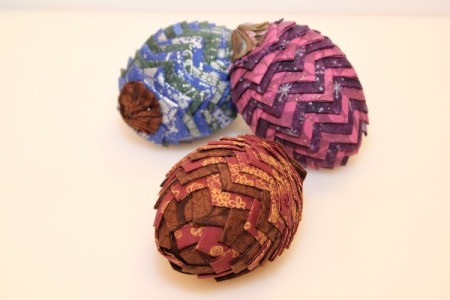
Bronze Post Medal for All Time! 190 Posts 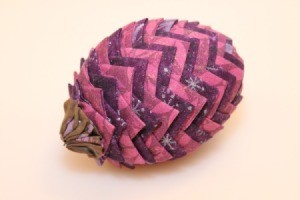 These pretty Christmas decorations can be made to hang on the tree by adding a ribbon hanger or used in a cluster on a table top. My daughter and I made them for ourselves and as a gift for her friend.
Total Time: 1.5 - 2 hours
Yield: 1 fabric pinecone
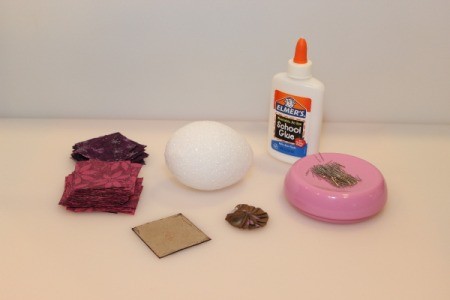
Supplies:
- 1 2 7/8 x 3 13/16 inch Styrofoam egg
- fabric scraps in your choice of colors
- approximately 350 sequin pins
- ribbon or cord, optional
- pen
- scissors
- school glue, Elmer's
- 2 x 2 inch square cardboard template
Steps:
- Cut out a paper or cardboard template 2 x 2 inches.
- Trace the template on to the wrong side of your fabric. We used two different patterns. You can use any combination of fabrics and colors you like to create your own unique design.
- Cut out the squares. We made 55 of each color.
- Fold each square first in half and then in half again, finger pressing them to make the folds. You can iron them if you like.
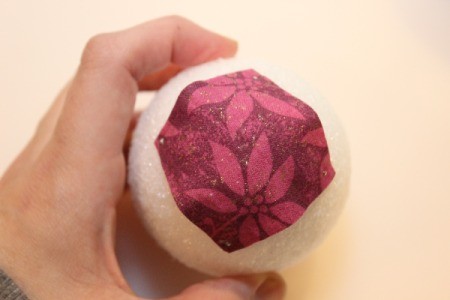
- Cut a piece of fabric large enough to cover the small end of the Styrofoam egg. Pin in place, adding a drop of glue to your pins before pushing them into the egg. This will cover any gaps in the initial row.

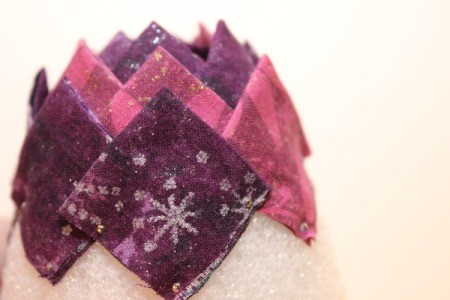
- Begin at the bottom of the egg and attach four squares of fabric, with the points meeting in the center. Pin them in the three corners that will not be visible as you build your layers, dipping the pin in glue each time. We alternated colors.
- For the second row, drop down a bit and line the points of the new pieces between the two pieces in the first row.

- For the third and subsequent rows, you will drop down and center the point with the one from two rows prior (using the opposite color).

- Each new row will only have 4 new pieces added. The new piece will be added to cover the corner points of two pieces in the previous row. You will continue alternating colors. NOTE: Be sure to set pins in such a way that the succeeding rows will cover them and any raw edges.
- Continue until you reach the large end of the egg. Be sure to only add 4 squares per row and position pins so that they can be covered by subsequent squares.
- To close the final gap, you will continue adding four squares bringing them closer together until the end is closed enough to cover with your yo yo. They will overlap quite a bit in the middle.
- To finish the pinecone we used a yo yo made with the Clover medium yo yo maker. You can also make them by hand. Pin the yo yo to the end of the pinecone, placing the pins into the folds of the yo yo to hide them. Here is the link to making your yo yo: Making Fabric YoYos. If you don't wish to use this method a bow can be pinned to the end to cover the final rounds.
- You are done. Enjoy your handmade decoration or ornament. Make several and enjoy them hanging at varying heights in a cluster.

Add your voice! Click below to comment. ThriftyFun is powered by your wisdom!

attosa
Diamond Post Medal for All Time! 1,246 Posts November 30, 20170 found this helpful
These are gorgeous!!! I have to pin these :)
Add your voice! Click below to comment. ThriftyFun is powered by your wisdom!

 These pretty Christmas decorations can be made to hang on the tree by adding a ribbon hanger or used in a cluster on a table top. My daughter and I made them for ourselves and as a gift for her friend.
