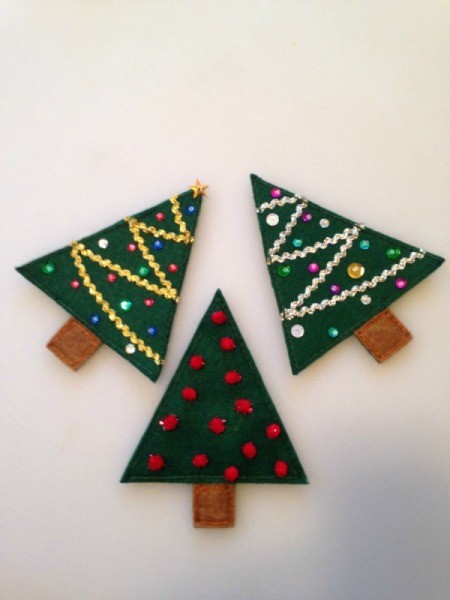
 These cute felt trees can be decorated in many ways to make a pretty treat holder for Christmas. Set them out on the table at each place or add a ribbon hanger and use on the mantle or tree.
Total Time: 1 hour more or less
Yield: 1 tree shaped treat holder
Supplies:
- Sharpie or pen
- paper to make template for tree and trunk
- Scotch tape
- green felt
- brown felt
- metallic ric rac - silver and gold
- sequins, including star shaped ones
- sequin beads
- small pom poms
- thread
- embroidery floss
- pins
- scissors
- hot glue gun and glue
- candy canes or other treats
Steps:
- Draw a template of your tree including the trunk. Also, make a separate trunk template. I went over the original with a Sharpie and them traced it to make working copies.
- Cut out the templates and use tape rolls to hold them onto the felt. Cut out one tree with trunk and one without (by folding the trunk up under the tree). Cut one trunk from your brown felt.
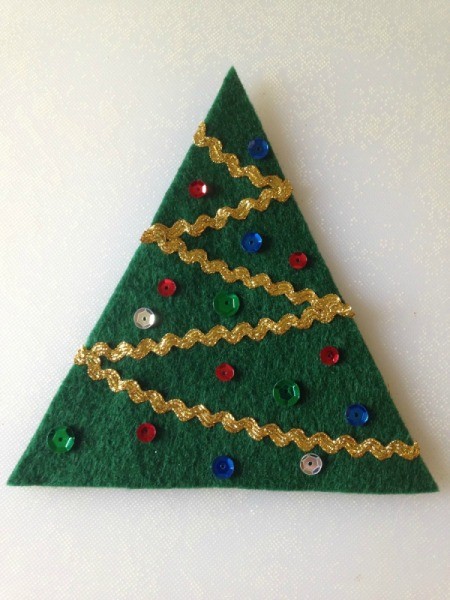
- If you are going to decorate your tree with ric rac and sequins you will sew that on before you sew the two tree pieces together. NOTE: You will be sewing the decorations onto the tree without a trunk.
- Lay your ric rac out on the tree and cut to size. Then sew it on using sewing thread.
- Arrange sequins on the tree in a pleasing layout.

- To sew on the sequins come up, with your needle, from the underside of your felt tree through the center of the sequin. Thread on a bead and put your needle back down through the sequin hole. Tie off each sequin, even if you use a continuous piece of thread, to prevent one or more of them from coming loose.
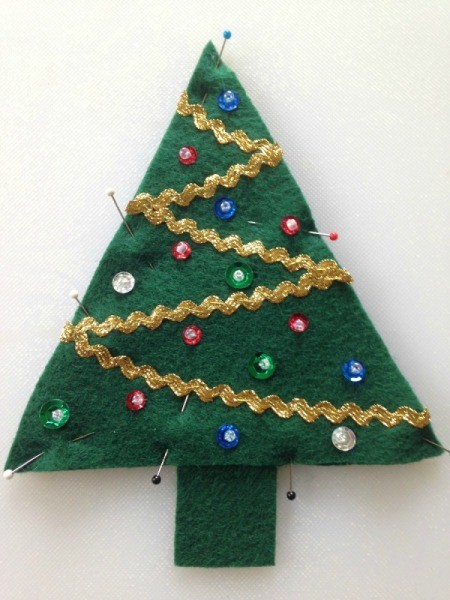
- Once your decorations are sewn on, lay the decorated tree on top of the full tree, with trunk, piece of felt. Pin together.

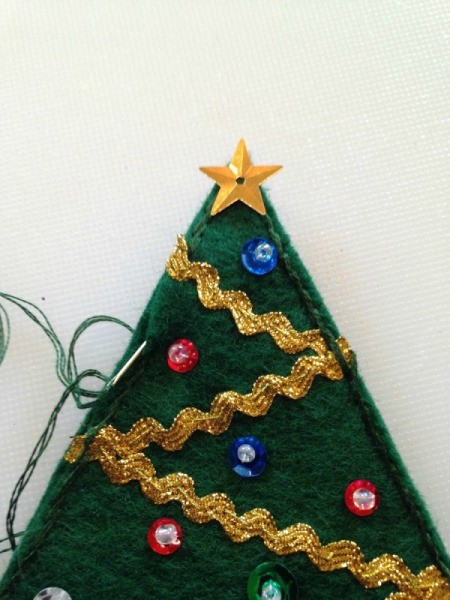
- I used embroidery thread of a matching color and a backstitch to sew my two pieces together. Leave an opening near the side/top to allow you to put in your treat. Check fit your treat and mark opening. Since I used candy canes I left an opening of about a 1/2 inch. You can adjust the size and placement to accommodate your treats.
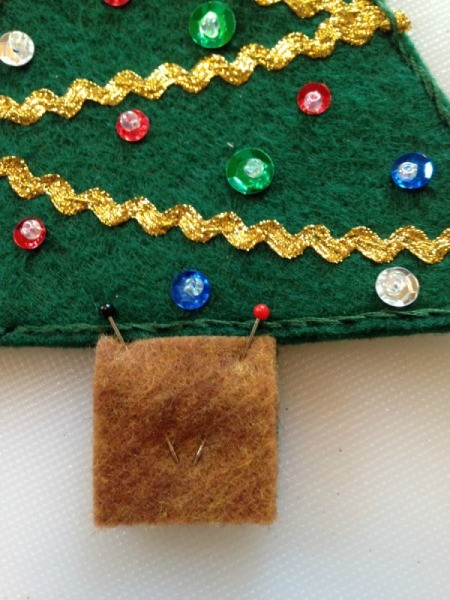
- After the tree is stitched together, lay your trunk piece over the corresponding area on the tree back and again using a back stitch, sew it in place.

- The star sequin was stitched on after the two pieces were sewn together so that it did not get in the way of the backstitching.

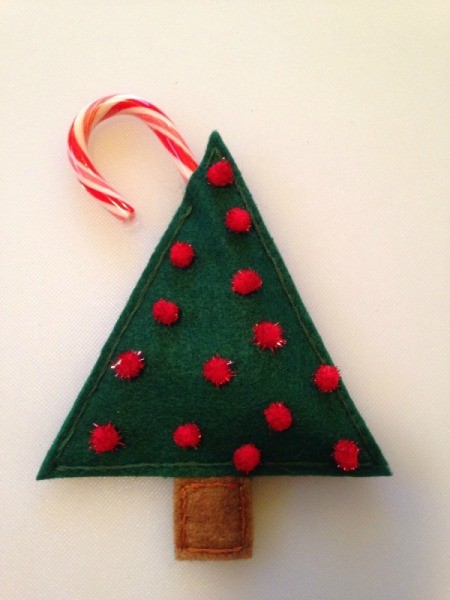
- If you decide to use the pom poms, they can be glued on using a hot glue gun after your have sewn your tree together. Likewise, if you don't want to sew on the sequins and ric rac they can also be glued on after sewing is complete. Follow the same basic steps for making your treat holder, as above.
- Arrange your pom poms and then using a hot glue gun adhere them to the tree. I used a pair of tweezers to hold the poms while adding glue and for easy placement.
- Here are the ones we made.

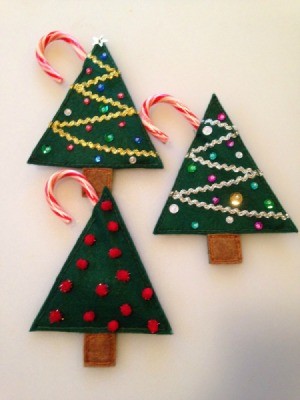
- Add a treat and you are ready to give a sweet gift.

 These cute felt trees can be decorated in many ways to make a pretty treat holder for Christmas. Set them out on the table at each place or add a ribbon hanger and use on the mantle or tree.