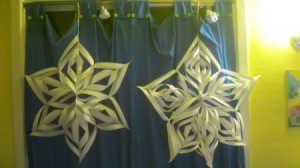
 As sad as this is, I have to admit that I have never been able to cut a pretty snowflake! I open each one up with so much excitement, thinking this will be "the one". But, alas, it's not a talent I possess. Recently, a friend had posted a beautiful picture of snowflakes she was making with her mom. I was seriously impressed. She showed me how to make one and they couldn't be easier. They are so gorgeous. It's a fun craft to keep the kids busy and decorate the house.
Total Time: About half an hour.
Yield: like.
Source: My friend, who saw the idea on pinterest
Supplies:
- paper, any size
- scissors
- tape
- stapler
- a ruler, if you need to measure the paper to make it square
Steps:
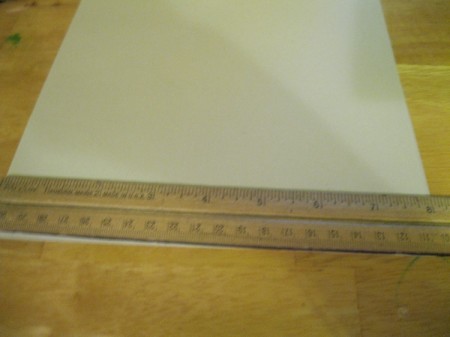
- The paper needs to be square. If you are starting out with square paper, awesome! If not, use your ruler to make the paper squares. You need 6 pieces to make 1 snowflake. This paper was 8 1/2 x 8 1/2 inches. The finished snowflake was about 21 inches tall, from point to point. You could make them smaller, if you would like. I made one with Post-It notes and it turned out great. It just takes a little longer to make because it's so small.

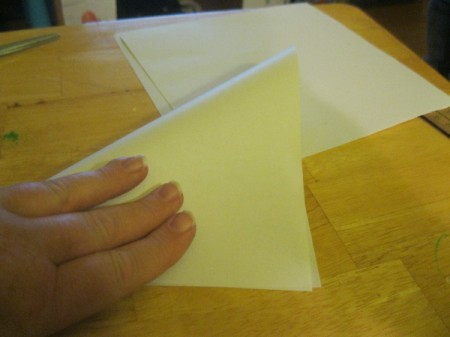
- Fold the paper diagonally to make a triangle.

- Fold the paper again, to make another triangle.
- Once folded, you are going to cut 3 or 4 strips starting at the end that has two ends that are folded. So, if the paper is facing you, there are 2 sheets. (I hope this isn't confusing. The picture will hopefully show you what I am trying to explain!) Cut until you are about an inch away from the end. Don't cut all the way or you'll cut your strip right off.
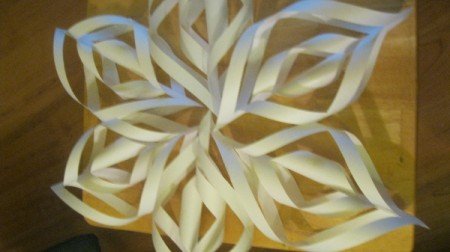
- After cutting, open up your paper. Start at the center and pull those 2 triangles together to form what looks like a cannoli. Tape the two ends together. It will be even if you try to match the fold lines with each other.
- After you have made the middle "cannoli", flip the snowflake over. Take the next 2 strips and match them up. Tape them together.
- Flip over and tape the next strips, and so on, until they are all taped.
- Do this 5 more times, to end with a total of 6 pieces of the snowflake.

- Take your 6 pieces and gather them all together by the ends. Staple the pieces together.
- Now, it looks great at this point. But once you hold it up, they will flop around. So, you need to join all the sides to each other. At the mid point (where they should touch), line up the 2 pieces together so that they match up. Staple those together. Work around the snowflake, until they are all affixed.
- To make sure that my snowflake didn't rip when I hung it up, I reinforced the spot where the string would go through. I used those little circle tabs (I have no idea what they are called!). I put a tab on each side, then used a hole punch to make the opening. Then, tie your string through the hole.
- Hang up your snowflake using string, yarn, etc.
 As sad as this is, I have to admit that I have never been able to cut a pretty snowflake! I open each one up with so much excitement, thinking this will be "the one". But, alas, it's not a talent I possess. Recently, a friend had posted a beautiful picture of snowflakes she was making with her mom. I was seriously impressed. She showed me how to make one and they couldn't be easier. They are so gorgeous. It's a fun craft to keep the kids busy and decorate the house.

