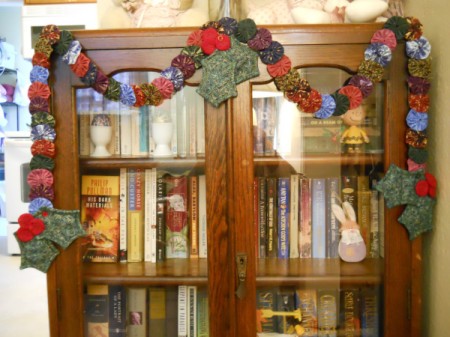
 I wanted to make a yo yo garland that could be used not on a Christmas tree but rather over a doorway or window.
Total Time: Approximately 5 hours
Yield: 3 sets of leaves and berries and 52 yo yos
Supplies:
- various cotton Christmas fabric scraps
- remnants of cotton batting
- embroidery floss in green and red
- sewing thread
- needles
- buttons, optional
- scissors
- sewing machine, optional
- cardboard or in my case old file folders for templates
Steps:
- Create templates for holly leaves and berries. I used quilting applique templates and traced with tracing paper and then copied the outline onto pieces of old file folders.
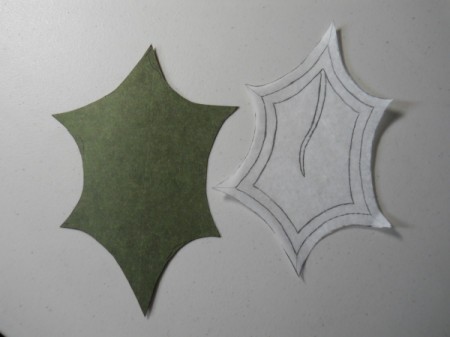
- Trace your templates onto the fabric you have chosen for the leaves and berries.
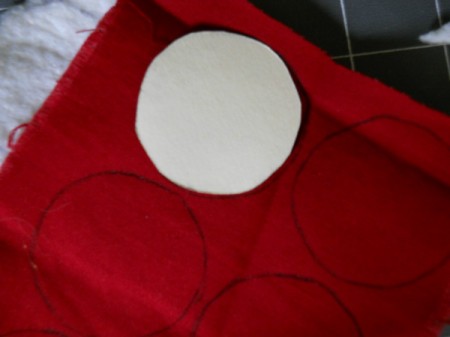
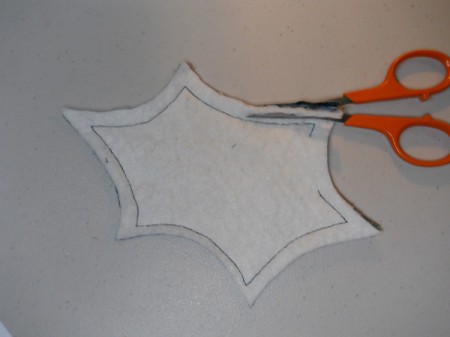
- You will need to cut two pieces of fabric for each leaf and berry as well as a piece of batting. Make sure that you cut the fabric with it folded together, or turn your template over to get an opposing leaf shape.
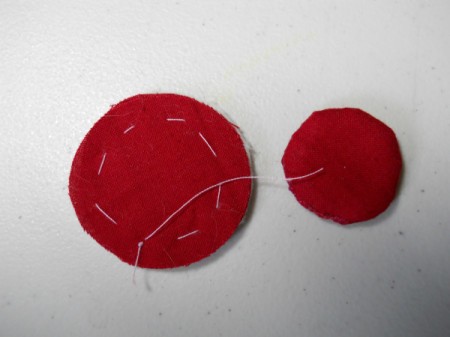
- Baste the two pieces of red fabric, right sides together with one batting circle. Leave an opening for turning. Now you can sew by hand or machine. I sewed the berries by hand. Turn and sew opening closed.

- For the leaves I stacked the three layers together, pinned, basted, and machine stitched. Again leave an opening for turning.
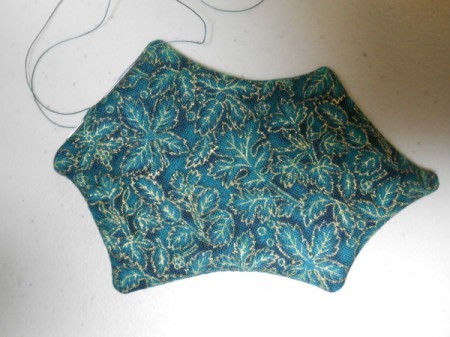
- After stitching the leaves, trim the seam allowance and square off the points for easier turning. Turn.

- Stitch the turning space closed.

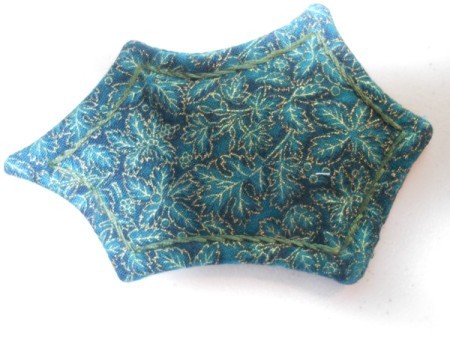
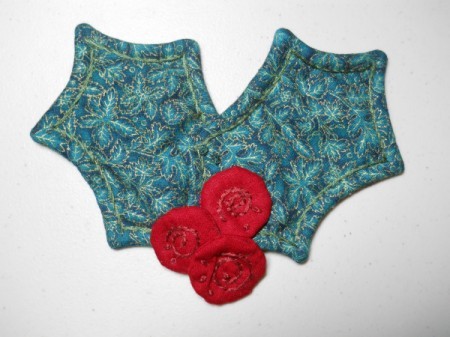
- Now if you like you can embellish the leaves and berries with some embroidery. I did a backstitch out line stitch on the leaves and a swirl on the berries, see photo.

- Arrange the leaves and berries to your satisfaction and stitch together, using a needle and thread. I also added some embroidery French knots through all thicknesses to further decorate and hold the parts together.

- Now it is time to begin stringing the yo yos. If you have not made these fun little fabric gathered circles before click here for a tutorial: Making Fabric Yo Yos
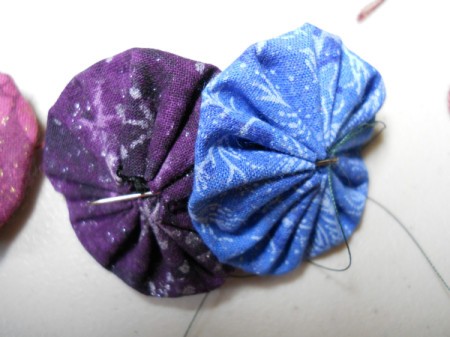
To make my garland and help to keep the yo yos from flopping forward if suspended in a doorway, I stitched them together by inserting the needle at 10 and 2 o'clock and slightly overlapping each new yo yo with the previous one, see photo. I used embroidery thread for the step for added strength. - To further reinforce the garland, because I sometimes tend to overdo, I also ran a thread through the hole on the first yo yo, out the backside and through the following yo yos. This step is absolutely optional. I did find that it did help me to cinch up the chain of yo yos and keep my spacing the way I wanted it.

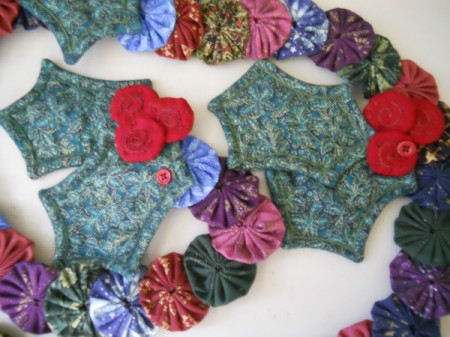
- I attached the leaf and berry clusters to each end and the center, by stitching to the first and last yo yos and one in the center. I added a button for decoration and added strength for the attachment, the button is optional.

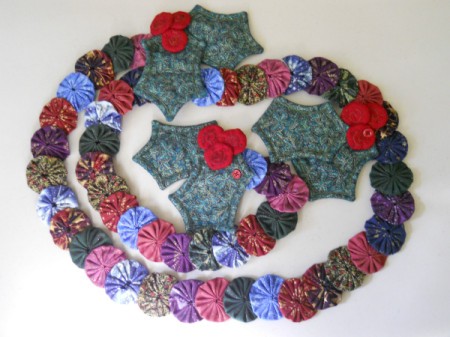
- This is the finished garland. It is approximately 67 inches long from the tip of the uppermost leaf to the other end. The yo yos are 1.5 inches finished, berries are 1 1/8 inches in diameter and the leaves are 4 inches long.

- Here is the finished garland decorating the front of an antique bookcase. Being early fall in the northwest I couldn't get a good photo of the garland suspended across the doorway as I intend to use it. However, it does look nice on the bookcase too.

 I wanted to make a yo yo garland that could be used not on a Christmas tree but rather over a doorway or window.

