 This was just an experiment that turned out well! You can use all kinds of ribbon or string for this project.
Total Time: about 45 min
Yield: varies
Supplies:
- sturdy cardboard or, preferably, chipboard (You can find this by the craft paper at Michael's)
- glue
- ribbon, baker's twine, etc.
- scissors
- protractor
Steps:
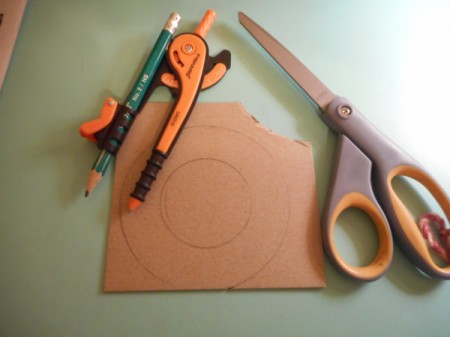
- Using the protractor, draw a medium size circle on a section of the chipboard. Adjust the setting about 1/2 to 3/4 inch in to make a smaller circle in the center.

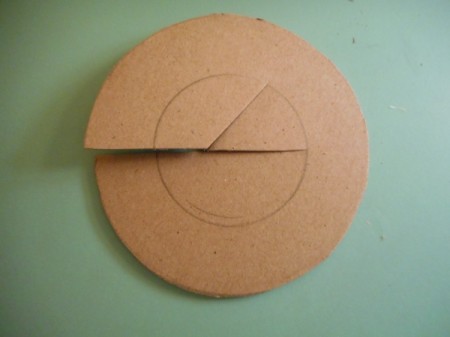
- To cut out the circle, you will need to cut through it-that's okay! I found that by cutting an angle through the radius of the inner-circle, I could go around the edges easier with the scissors.

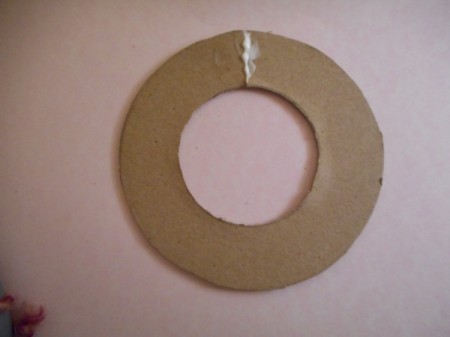
- Secure the cut in the wreath base with glue and let the glue dry.

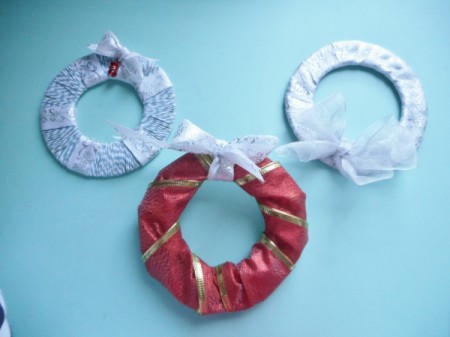
- Once the glue is dry, you can start covering the base. For this one, I used baker's twine. Glue as you go along.

- Once this was complete, I attached bits of ribbon around the wreath and made a bow at the top. You could also sew a bead through the center of the bow to make a little ornament dangling from it.
- Be creative!

Add your voice! Click below to comment. ThriftyFun is powered by your wisdom!

December 23, 20180 found this helpful
Love your creativity! Very pretty!
Add your voice! Click below to comment. ThriftyFun is powered by your wisdom!
 This was just an experiment that turned out well! You can use all kinds of ribbon or string for this project.


