DianaHM
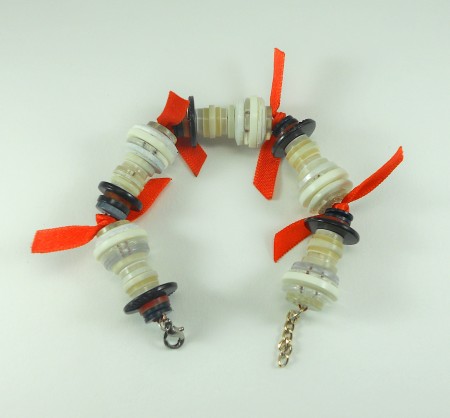
Silver Answer Medal for All Time! 440 Answers  Celebrate the season with a DIY Christmas bracelet. I really liked the idea of forming different figures from buttons. This is a great use for buttons left over from old clothes. I decided to make a bracelet with snowmen.
Total Time: 30 Minutes
Supplies:
- buttons of white / transparent color of different sizes
- buttons in dark color, small and large (for hats)
- small red buttons (for bands of hats)
- pliers and wire cutters
- red ribbons
- clasp hook and circle or link chain
- wire 0.8 mm diameter, I used copper wire from an old transformer
- matches or lighter
- scissors
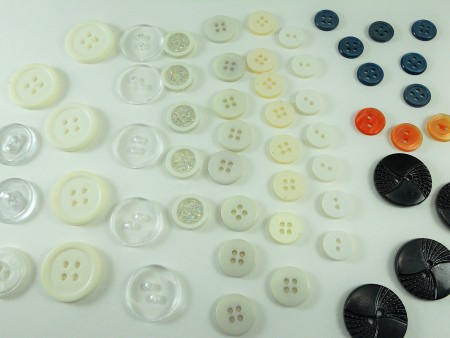
Steps:
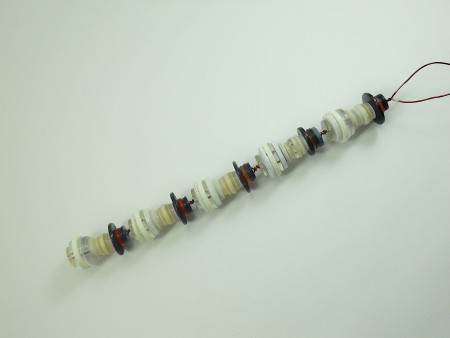
- Arrange the buttons so that when stringing them onto the wire, you get the shape of a snowman: torso, head, brim of hat, band of hat, crown of hat. String the buttons on the wire and measure the length of the resulting snowman. Add 0.1-0.2 inches for twisted wire and calculate how many snowmen you need to make to get the desired length of the bracelet. Reduce or add buttons for the snowmen body as needed. Distribute the buttons for all snowmen.
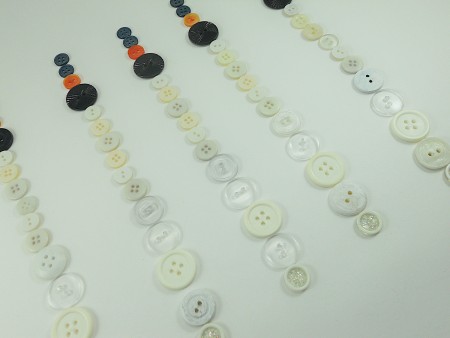
- Cut the wire 2.5 times the desired length of the bracelet. Fold the wire in half.
- String the buttons for the first snowman. If the button has four holes, then thread the wire through the holes located diagonally. When the snowman is formed, twist the wire several times.
- Repeat the previous step until you have all the snowmen and the desired length of the bracelet.

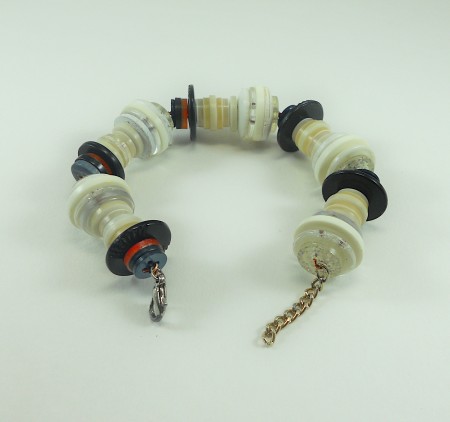
- Bend the bracelet. Add a circle or link chain to one end of the bracelet and a clasp hook to the other end of the bracelet, twist and cut the wire. Fold and hide the ends of the wire.

- Cut the ribbon into pieces, singe the edges with a lighter or matches. Tie the ribbons between the snowmen, hiding the twisted wire.

Add your voice! Click below to comment. ThriftyFun is powered by your wisdom!

 Celebrate the season with a DIY Christmas bracelet. I really liked the idea of forming different figures from buttons. This is a great use for buttons left over from old clothes. I decided to make a bracelet with snowmen.

