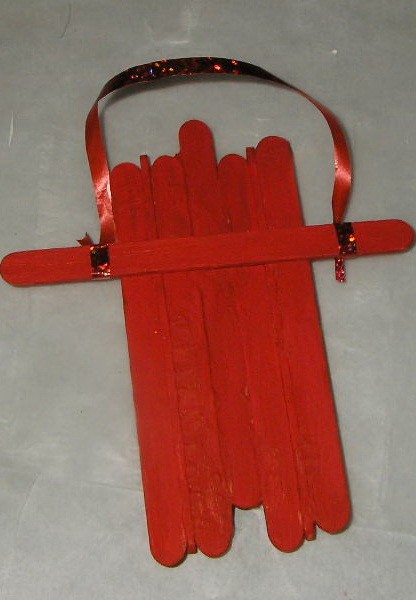
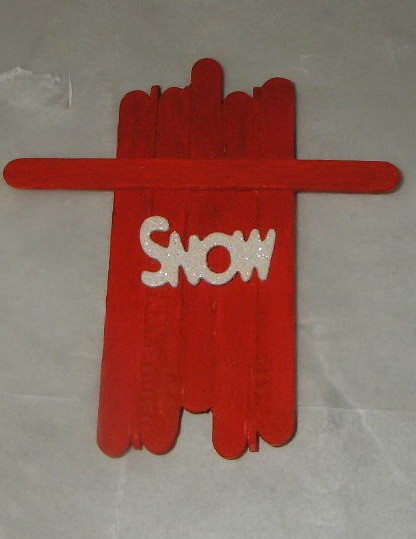
These are so very pretty when you make them yourself. Personalize them for an extra special gift to someone you love. This is not an easy project, but the results are stunning. It has been a tradition in my family to give the children each an ornament for Christmas to add to their collection. These make an extra special gift for them. Be sure to put the date you made them on the back.
Approximate Time: 8 hours for 10 or more
Supplies:
- 8 Popsicle sticks (for each ornament)
- white glue
- wax paper
- sandpaper
- red paint
- 6 inches of ribbon to hang by
- embellishments
Instructions:
- Cover your area with wax paper.
- Take 3 Popsicle sticks and line them up side by side.
Scoot the middle one up until it is about 3/4 of an inch past the top of the other two sticks.
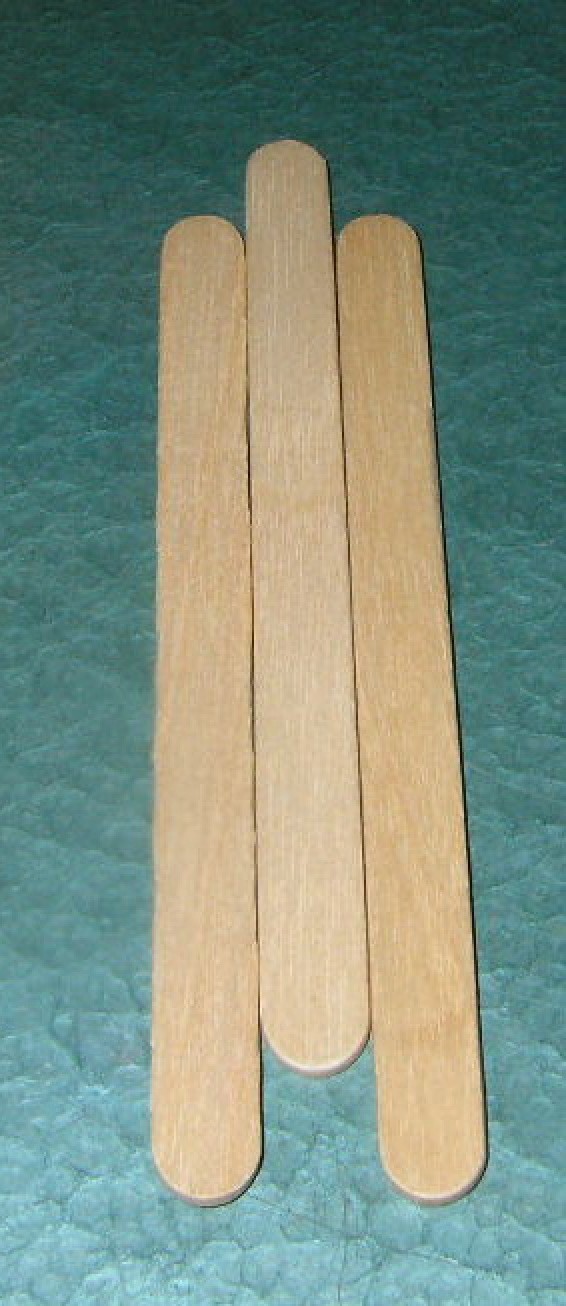
- Glue these in place on the sides one by one. Allow to dry.
- Next take 2 Popsicle sticks and line them up on the sides of the ones you have glued, but stand these up. (Refer to picture.)

- Glue into place and allow to dry.
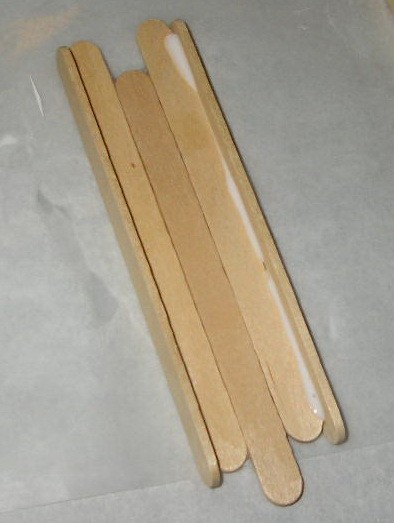
- Take two Popsicle sticks and lay them flat against the last two you just added. (These will be in the same plane as the original three, with their edges glued to the runners.) Glue into place and allow to dry. (This is the back of the ornament.)
- Put one Popsicle stick in the middle of the front and glue into place. This will be the part you would pull it by. Allow to dry.
- Use the sandpaper to remove any wax paper or glue that may have adhered to the project as you were gluing it. This is a vital step before painting the sled.
- Wipe with slightly wet cloth to remove fine sandpaper particles.
- Paint front of sled red and allow to dry.

- Paint the back red and allow to dry.
- Add a ribbon tied on the edges of the middle post to hang it by.
- Embellish the sled with snowflakes or words and hang on your Christmas tree.


Tip: These can easily be personalized to suit any child or adult.
By gem from VA
