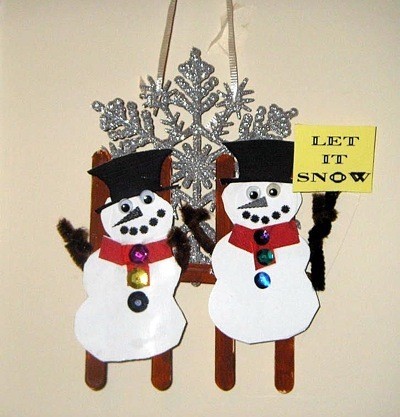
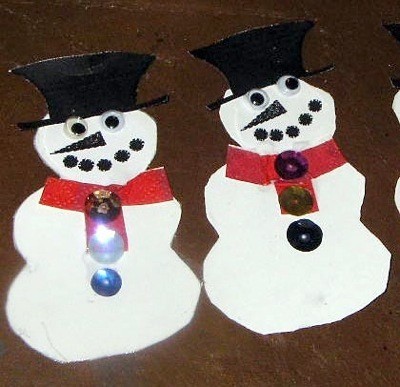
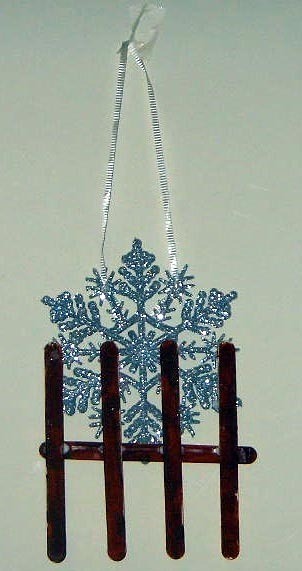
Two darling snowmen on a fence with a snowflake backing proclaim to "let it snow". So easy and economical to make and yet such a nice sight to see. A must have for all snow lovers.
Here in Virginia we look forward to the snow. We usually don't get a lot but here the past few years we have had some wonderful snows. There is nothing like looking out the window and seeing the beauty of all God's world in a tiny snowflake.
Approximate Time: 30 minutes with drying time.
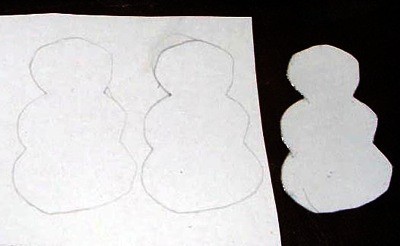
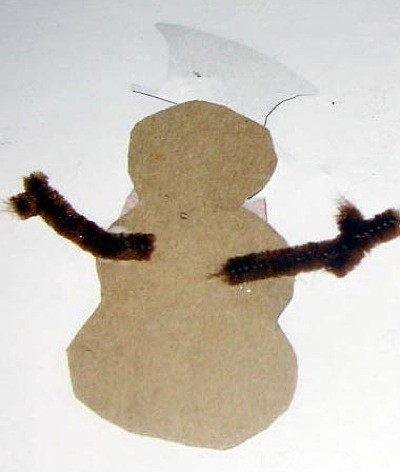
Take a pattern of a snowman and transfer it to a piece of heavy cardboard. Cut out 2 snowmen. Set aside.
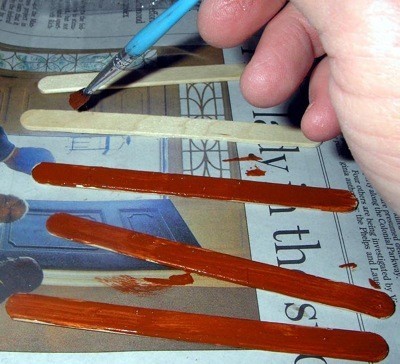
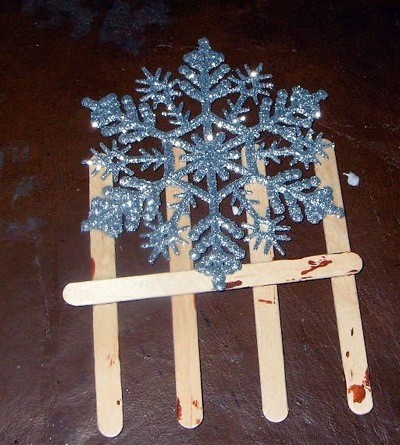
Paint 5 small craft sticks brown. Allow to dry.
While your sticks are drying, make a face and hat for each snowman.
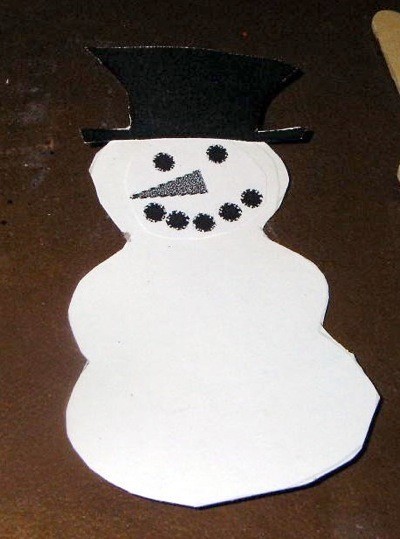
Add some paper or ribbon to go around his neck. Have one piece hang down. Adorn your snowman with three different colored sequins.
Make snowman hands by cutting 2 pieces of brown chenille stick. One piece is 3 inches long and the other one inch long. Twist the 1 inch piece onto the three inch chenille stick. This makes the snowman's arms and hands. You can pose it and then glue it to the back of the snowman. Allow to dry.
With your five painted sticks, glue them with one stick across the rest on the backside of the fence. Glue the snowflake to the upper part of the back of the fence. Allow to dry.
Push a ribbon through one end of the snowflake and add a knot to keep it in place. Do the same with the other side always making sure your knot is in the back and the ribbon is straight. This will be it's hanger.
Next glue the snowman on the front of the fence and snowflake so the snowflake can be seen behind them. Twist a 3 inch piece of black chenille stick to the right handed side of one snowman. Glue on the sign "Let it Snow."
Now you have 2 little snowmen that proclaim they want to "Let it Snow!"
By Gem from VA
Add your voice! Click below to comment. ThriftyFun is powered by your wisdom!
Add your voice! Click below to comment. ThriftyFun is powered by your wisdom!