These make a wonderful gift. People love getting these trees and they are so much more personal than a box of chocolates. Happy Holidays!
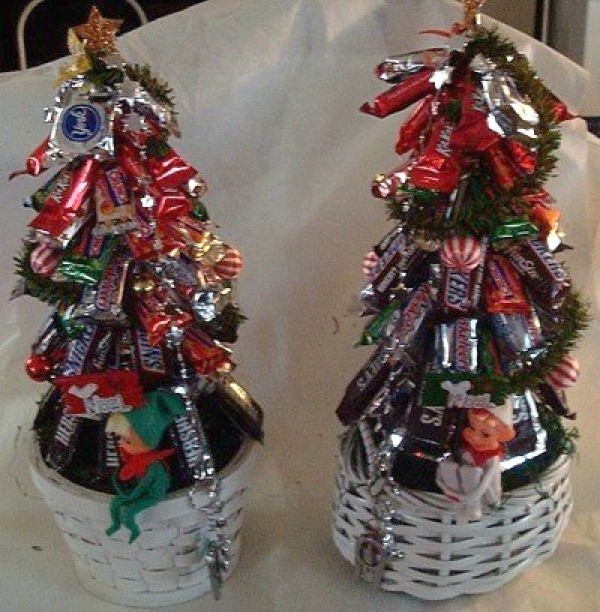
Approximate Time: 1 hour, not including waiting for plaster to harden
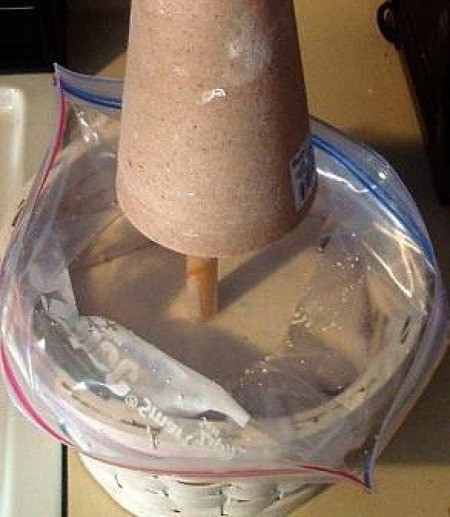
Take your cone and insert a Styrofoam ball into it tightly then stick the dowel into the ball, add some hot glue to the end of dowel first to make sure it is secure. There should be about 3 inches from the bottom of the cone to the top of the plaster. Insert the dowel into the plaster before it hardens, but after it is thick enough to hold the tree in place.
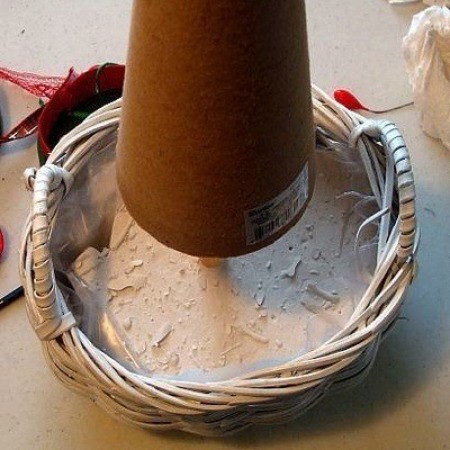
When the plaster is fully hardened it is time to decorate your tree. Cut away the excess plastic bag. Fill the bottom of the container with green or natural moss to cover the plaster.
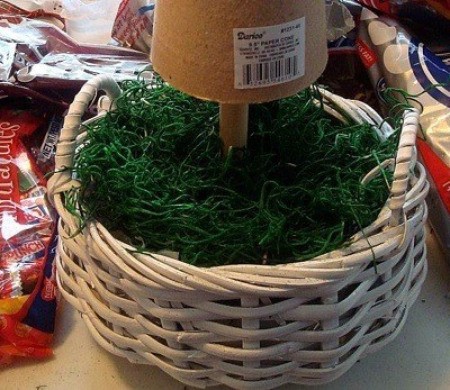
Take your candy bars using the largest first and hot glue the edge of the wrapper and stick to the bottom of the cone as shown in pic. Do this all around for the first layer.
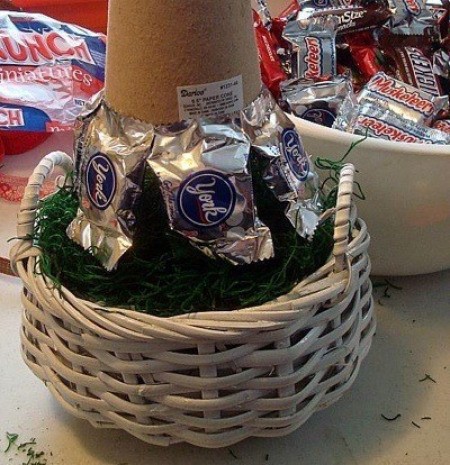
Repeat with a different candy on each layer. If you'd rather you can mix the candy bars so there are scattered sizes all over the tree. Try to save the smallest bars for the top.
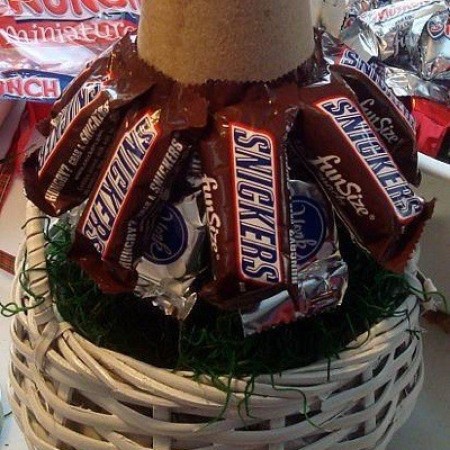
Fill right to the top and if you notice any holes, fill with another bar. Glue some tiny ornaments between some of the candy or run some garland. Top with a star or tiny angel and decorate the container with a novelty item as I did, if you like. Attach a small pair of scissors to the tree by tying on a cord or piece of garland attached to the top of the tree. Use these scissors to cut the bottom of the candy wrapper so the candy slides out. This leaves the wrapper in place so as you eat the candy, the tree remains colorful.
By Myst from Muncie, IN
Like this item. I would like to make one. It is cute.