Made from bits and pieces of old clothing, cloth, and a few craft supplies this angel could adorn your door or Christmas tree. She may have been made from recycled items, but she still has a sweet smile upon her face and an air of elegance about her.
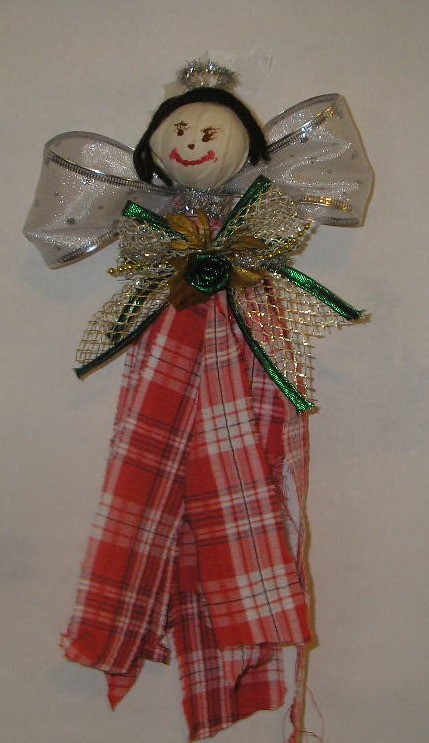
Approximate Time: 20 minutes each
Supplies:
- 1- 1 and 1/2 inch Styrofoam ball
- 2 bread ties
- 1 piece 5 inch by 5 inch cream or white fabric scrap
- 1 red plaid shirt ripped into 2 inch wide pieces
- 1 chenille stick
- 5 inches of 2 inch wide wired ribbon
- red paint
- brown paint
- paintbrush
- 10 inches of black or brown yarn cut into 3 inch pieces (for hair)
- white glue
- 1 fancy Christmas bow
Instructions:
- Take the plaid shirt and remove all the buttons, collar, sleeves, hems, and button holes by cutting them away.
- Make 2 inch cuts and tear from top to bottom. (You can use the entire shirt and make several angels.)
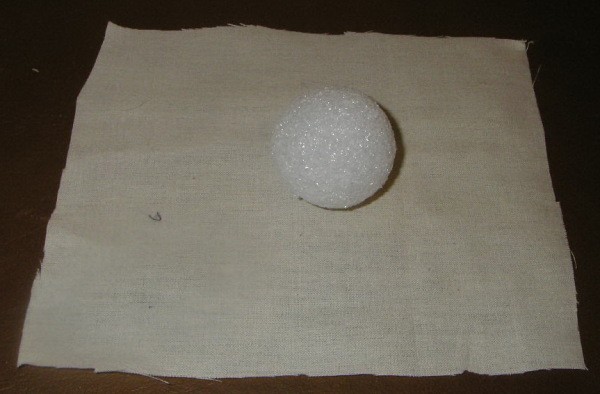
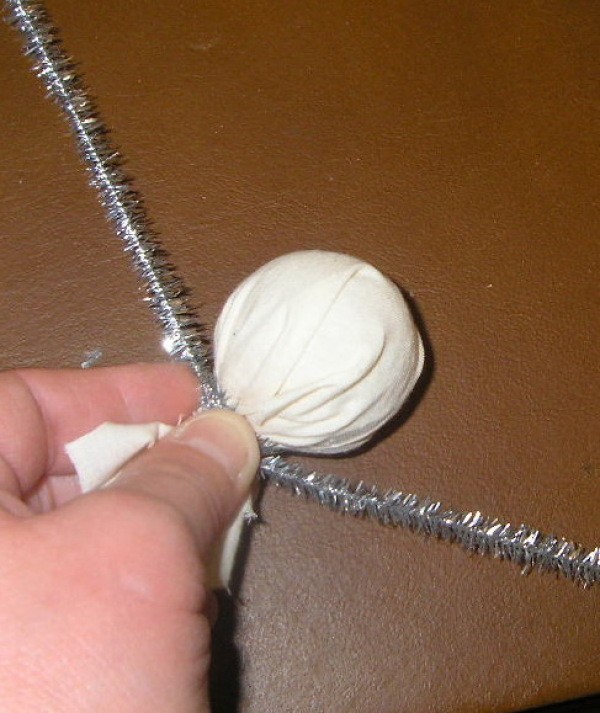
- Take the Styrofoam ball and put the 5 inch by 5 inch fabric around it securing it with a bread tie. There will be a little creasing, but that is alright.
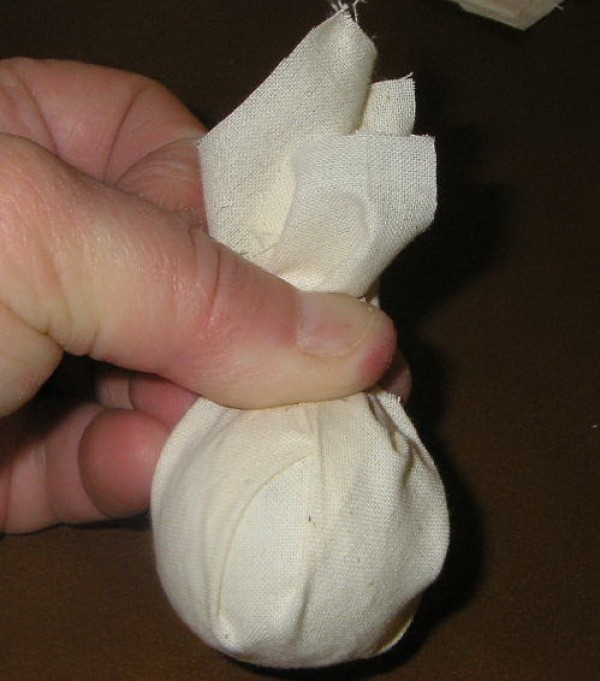
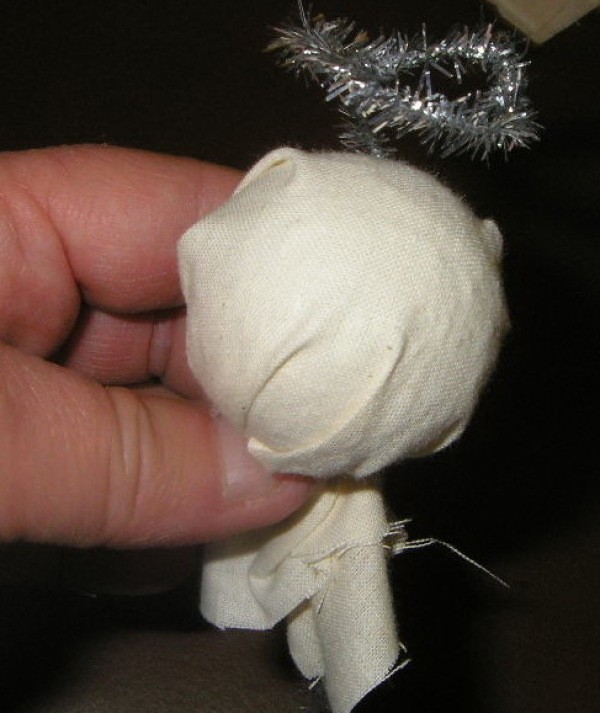
- Try to find the area with the least amount of creasing to use as the face.
- Next take a chenille stick and start about 3/4 down the length of it and wrap it around the bottom of the piece you just tied off with the bread tie.

- Leave one end hanging down, but bring the other end up and around the back to form a halo. Point the remaining end straight down.

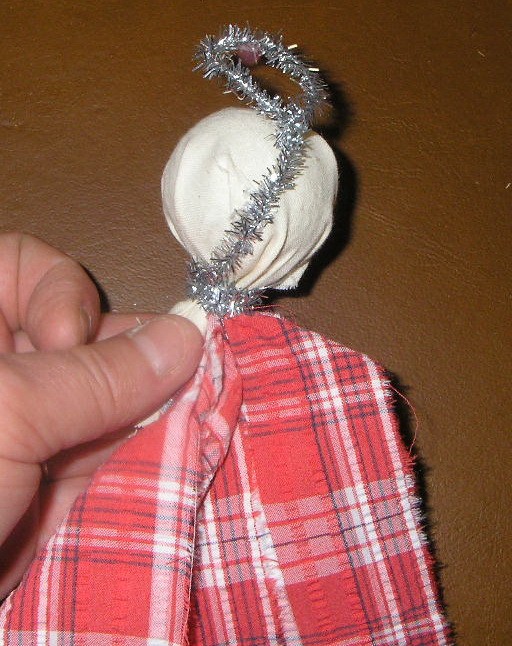
- Take 4 strips of the plaid material, about the same length, and find the center. Holding the strips in the center use the chenille stick to tie it in place by bringing it up and around the neck area securing it to the neck.

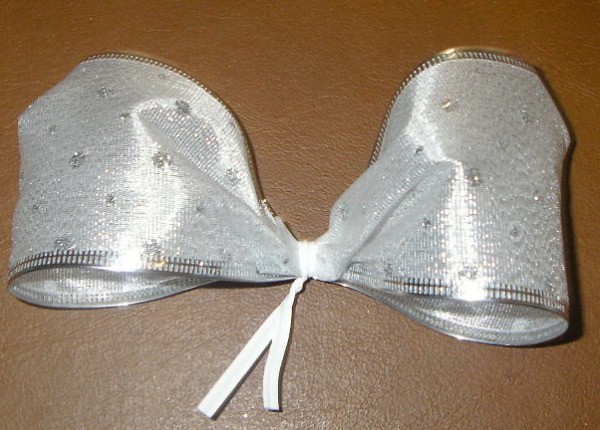
- To make the wings simply fold both ends of the 2 inch wired ribbon in half and tie off with another bread tie.

- Now take the wings and tie them to the neck area using the left over tie ends you used to secure the ribbon. Firmly push it down so it isn't showing.

- Next take the yarn and cut into several pieces and attach to the head with a little white glue.
- To add a face, squirt out a tiny bit of brown paint and using the back of your paintbrush dab a little paint around forming the eyes, lashes, and brow. Using the red paint and the back of the paintbrush dab on small circles to form a smile.
- Trim any excess threads or material that is too long from the angel's dress. Now you can add a decoration such as the pretty bow I have added. Hang the angel on your door as a door decoration or use it on your tree as an ornament.
Suggestions:
If you would like a change the look of your angel you could add another chenille stick and form arms to hold a songbook made from paper. Simply find the center of the chenille stick and using the back of the angel's head as a guide begin by making a full crossover of the chenille stick from back to front and then bend the ends up to form the hands. For the songbook simply fold a small piece of paper stock in half and use tea to stain it. Gently dab it so it isn't too wet. Allow it to dry, attach it to the hands with a bit of glue and you have a lovely song book for your angel to hold.
By gem from Gordonsville, VA
