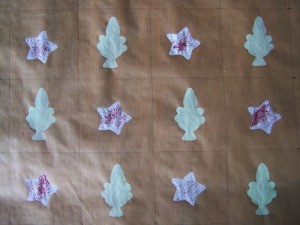
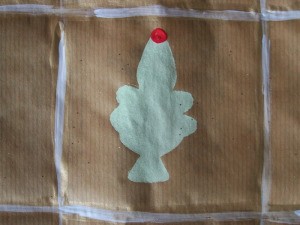
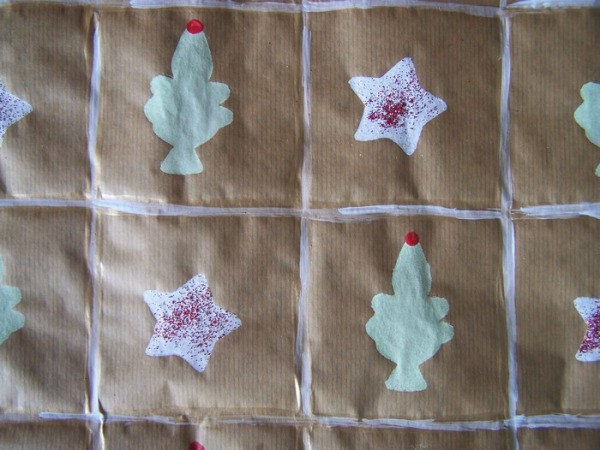
Christmas is traditionally family time, and here is a project that you and your child can do together. Using cookie cutters with Christmas shapes as your inspiration, make your own stencils from an old sheet of X-ray film, and then do printing with these stencils on inexpensive brown paper. A fun way to add a personal touch to gift wrapping!
Approximate Time: 20 minutes
Supplies:
- a roll of brown paper
I used the type that one normally uses to cover school books.
- 2 cookie cutters with Christmas shapes
I used cutters with a Christmas tree and a star, but any other shapes will do.
- pencil
- ruler
- one sheet of X-ray film for making the stencils
- sharp knife, or a sharp pair of standard scissors, to cut out the designs on the X-ray film
- 2 small sponges for the sponging
- acrylic paint in the following four colors: lumiere, white, pale gold, and true red
- red glitter
- a thin paintbrush
- 1 cotton swab
- 2 small plates to pour the paint into
- sticky tape
- a few sheets of old newspapers to protect the working area
Instructions:
- Place the first cookie cutter on a piece of the X-ray film and trace around the edges. Use the knife or the pair of scissors to cut away the inside of the pattern that you have traced onto the X-ray film.
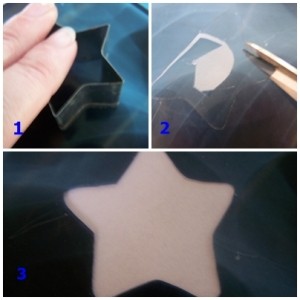
- Using a separate piece of X-ray film, repeat step 1 with the second cookie cutter, so that you will have two stencils.
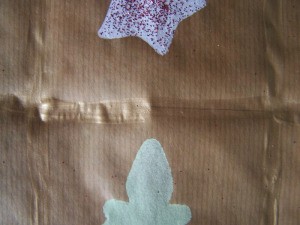
- Cut the brown paper to the desired size. Lay it flat onto a table, you may want to stick the corners lightly to the table with sticky tape, so that the paper doesn't roll up while you are busy.
- Use the pencil and the ruler to divide the brown paper into squares ~ I used squares sized 3.4 inches x 3.4 inches.
- Now use the lumiere paint and the Christmas tree stencil. Place the stencil on the appropriate place. For this design, one would alternate between a block with a tree, and a block with a star. Hold the tree stencil down with one hand while painting, so that it will not move while applying the paint.
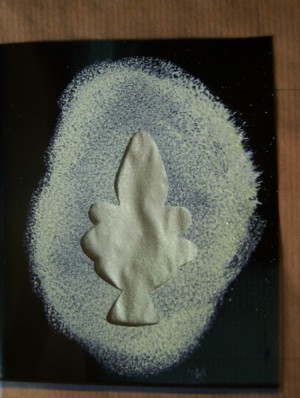
- Dip the sponge into the lumiere paint and remove excess paint from the sponge by dabbing it on the sheet of newspaper. Then paint the stencil design onto the paper by repeatedly dabbing all over the design.
- Carefully, lift the stencil and move it to the next appropriate place. Continue until every alternative block has been filled with the stenciled tree design.
- Leave to dry thoroughly.
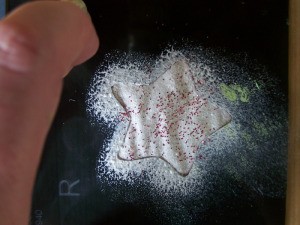
- Now use the white paint and the Christmas star stencil to fill the open blocks. Dip the sponge into the white paint and remove excess paint from the sponge by dabbing it on the sheet of newspaper. Then paint the stencil design onto the paper by repeatedly dabbing all over the design.

- Before removing the stencil, and while the paint is still wet, add some red glitter to the white star.
- Then, carefully lift the stencil and move it to the next appropriate place. Continue until the rest of the open blocks have been filled with stars.

- Leave to dry thoroughly.
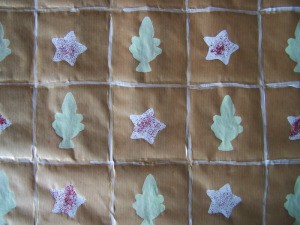
- Using the fine paintbrush and pale gold acrylic paint, draw a free-hand line over all the pencil lines that you have drawn when you divided the paper into squares.
- Leave to dry thoroughly.
- Repeat step 13, now drawing over the pale gold lines with the white paint.

- Leave to dry thoroughly.

- Dip the tip of the cotton swab in true red paint and make a small red dot at the top of each Christmas tree.

- Leave to dry thoroughly before using to wrap a present.
By Benetta from Pretoria, Gauteng


