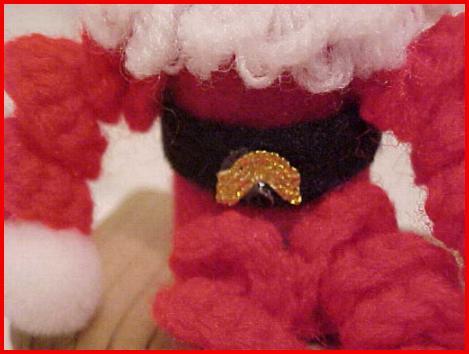
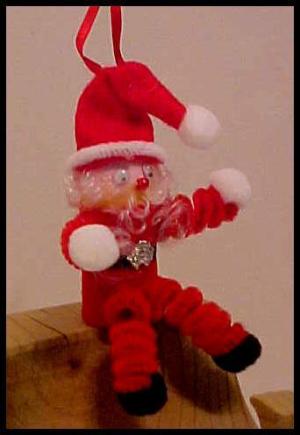
This Santa makes a cute tree ornament, or just make a few to sit in little niches.
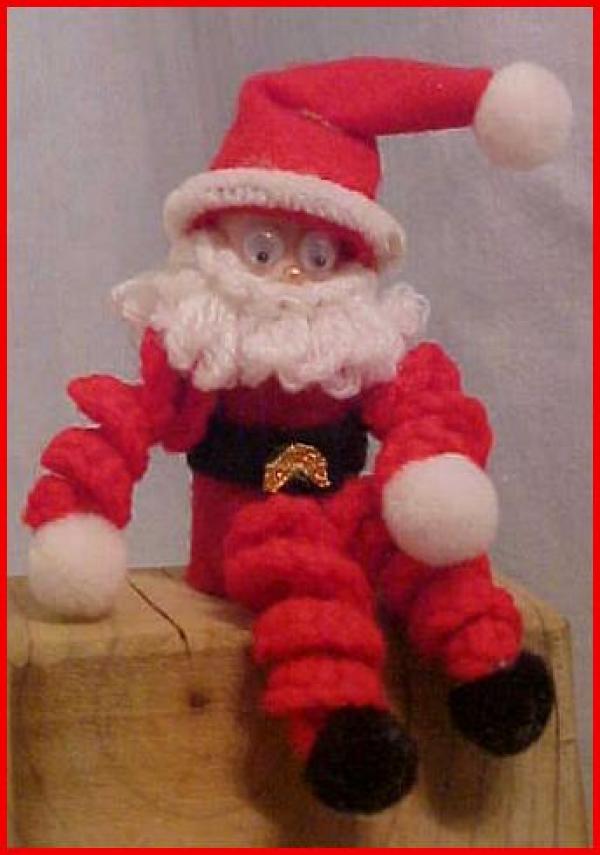
This pattern was originally made using a miniature salt box. Remember when you could buy them to throw in the picnic basket or a lunch box? Then they stopped making them, so I started using a 2 inch piece of broom handle to make them.
Approximate Time: about 3 hours
Supplies:
- 2 inch piece cut from a broom handle
- red and black felt (scraps will do)
- piece of rick-rack or silver foil
- 3 white 1/2 inch pompoms
- 2 black 1/2 inch pompoms
- 2 - 5mm wiggly eyes
- 4mm red bead for nose
- pink or flesh acrylic paint
- 4 inches of small rick-rack or white chenille stem to trim the hat
- crochet hook, size C
- about 15 yards of red sport yarn for arms and legs
- about 4 yards white sport yarn for beard
- hot glue gun
- Optional: curly white doll hair for beard
Instructions:
- Cut a 2 inch piece from the broom handle.
- Cut a rectangle from red felt 1 1/2 inches by 3 1/2 inches.
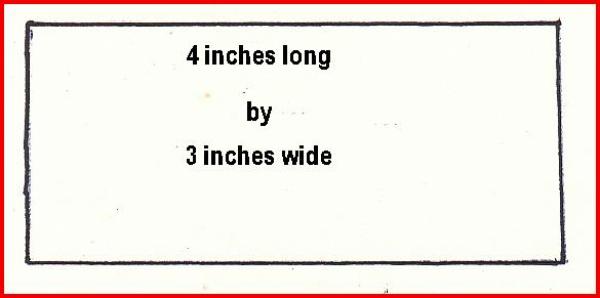
- Trim it so the edges just butt up to each other. Do not overlap.
- Position the bottom edge at the bottom of the handle.
- Glue in place using hot glue.
- Paint the remaining top of the broom handle with pink or flesh acrylic paint. Set aside.
- Trace the pattern of the hat on the red felt and cut out.
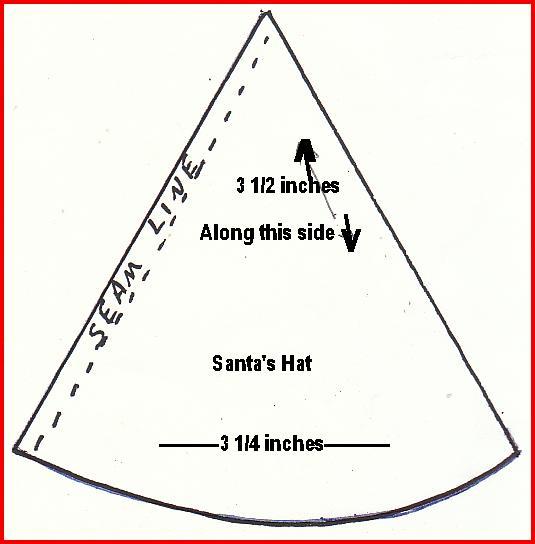
- Sew along the edge as indicated.
- Cut a piece of white baby rick-rack or white chenille stem long enough (about 4 inches) to encircle the edge of the hat, and glue to the hat.
- Cut a piece of black felt 3/8 inch by 3 1/2 inches for Santa's belt.
- Glue around his middle (about 1 inch from the bottom).
- Glue buckle in center front.


- Glue eyes and bead for nose in place, and glue the hat in place.
- Fold the hat down, using photo for a guide and use a bit of hot glue to hold it in place.
- Glue a pompom to the tip of the hat.
- Make the arms, legs, and beard next, using a "C" hook.
- Make two arms:
With red yarn, Ch 15.
Make 3 HDC in each ch.
Fasten off.
Twist to form a curl.
- Make the legs:
With red yarn, Ch 20.
3 HDC in each ch.
Fasten off.
Twist to form a curl.
- Make beard:
With white yarn, Ch 20.
Turn, and make 1 sc loop st in each chain.
Fasten off.

- Hot glue the beard around Santa's head just below his nose in the front, and at the top of his coat in the back.
- To make loop stitch, put hook through chain as for sc. Then wrap the yarn around your middle finger and pull it out to about 1/2 inch before picking up stitch with hook leaving 1 loop.
- Repeat in each st of the chain.
- Another option for the beard: If you are not familiar with the loop stitch, you can use white curly doll hair for the beard.
- Glue arms and legs in proper position, as shown in photo.
- Glue white pompoms to arms and black pompoms to legs.
- If you want to hang him on the tree, add a loop of heavy thread to his hat.
By Harlean from Hot Springs, AR


