Make these cute napkin rings to add some festive cheer to your Christmas table!
Approximate Time: 15 minutes per napkin ring
Supplies:
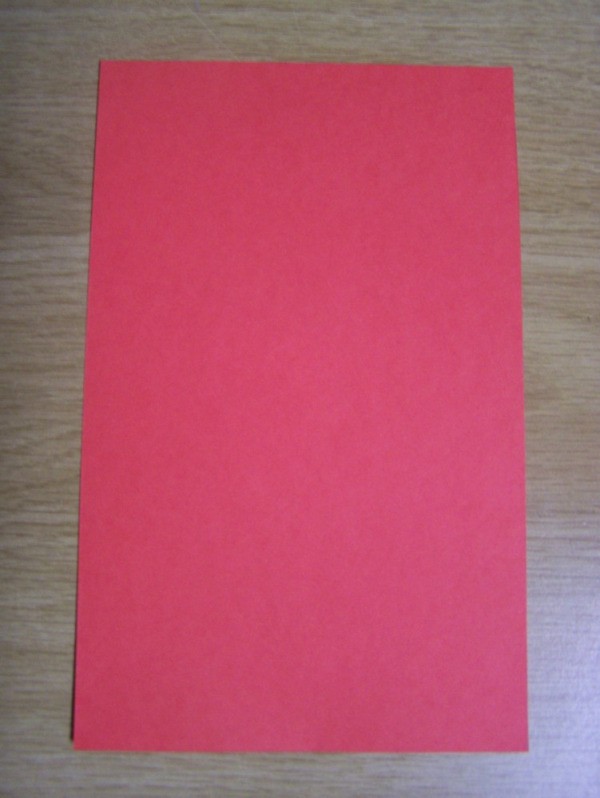
- red cardboard
- green paper
- white paper
- brown riffled cardboard
- small wooden Christmas ornament (approximate size 1 inch x 1 inch)
- 2/8-inch wide red silver edged organza ribbon
- tree-shaped paper punch
- pencil
- ruler
- pair of standard scissors
- quick-drying glue
Instructions:
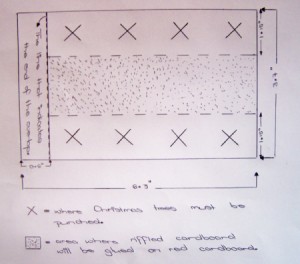
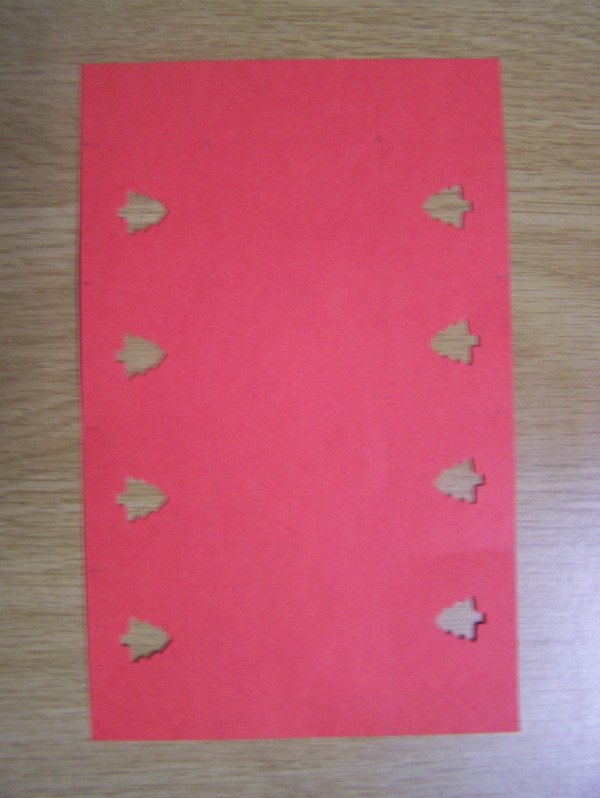
- From the red cardboard, cut a piece sized 6.3 inches x 3.7 inches.
- From one short end of this red piece of cardboard, draw a line 0.6 inches from the side. This line will indicate the end of the overlap, once the napkin ring has been folded into a tube.
- Punch an evenly spread row of Christmas trees on both of the longer sides, as indicated on the pattern sheet.

- From the white and green paper, cut squares sized 1.1 inches x 1.1 inches.
- At the back of the red cardboard, glue the white and green squares in place over the punched Christmas trees. Remember to alternate between white and green squares.
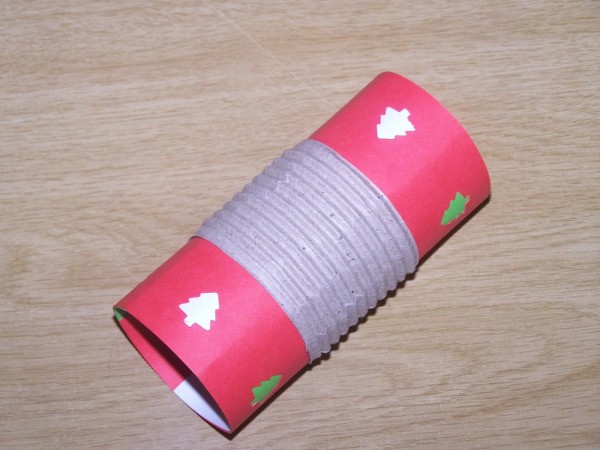
- Cut the riffled cardboard to the correct size (5.5 inches x 1.4 inches) and glue it in place, as indicated on the pattern sheet.
- Fold the napkin ring into a tube and glue together where it overlaps.*
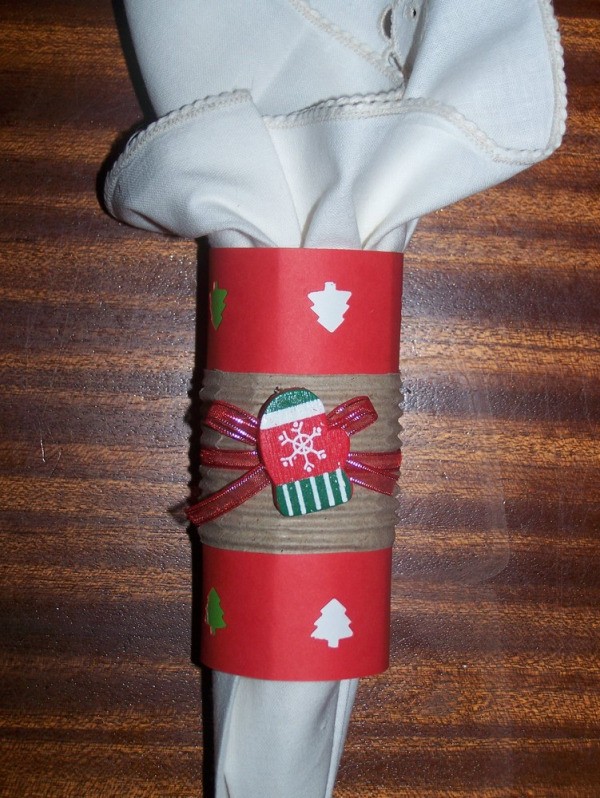
- Tie the ribbon around the napkin ring and make a bow. Add a drop of glue to the knot of the bow, so that the bow won't come loose.
- Glue the Christmas ornament in place and voila!
*Tip: Folding the tube around an object, such as a Pritt Stick, will help you to form a neater tube.
By Benetta from Pretoria, Gauteng